Identifying and resolving the root cause of an issue with a Vickers hardness tester requires a methodical approach. You can follow this methodical guide:
1. Gather information:
l Describe the problem: Describe the symptoms you're experiencing in detail, such as strange noises, erroneous readings, or system malfunctions.
l Check recent changes: Did any maintenance, software updates, or alterations to the testing environment take place prior to the onset of the issue?
l Review past records: Have you previously faced any similar problems? In that case, how were they settled?
2. Start with the basics:
l Power and connections: Make sure the machine is turned on and plugged in correctly. Look for broken cables or loose connections.
l Air supply (if applicable): Ensure that the air pressure falls within the range that your machine is designed for.
l Hydraulic fluid (if applicable): Verify the fluid's condition and level. Top off or swap out as needed.
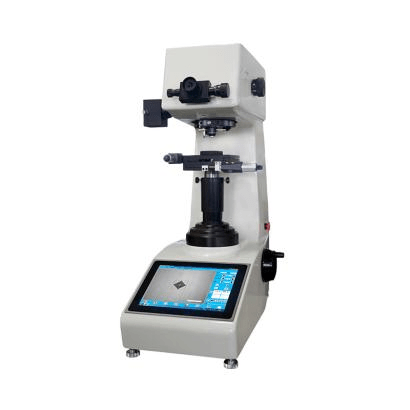
l Cleanliness: Empty and clean the machine, paying particular attention to the measuring microscope, sample stage, and indenter.
3. Check the machine functions:
l Measuring microscope: Make sure the image is crisp and clear after focusing the microscope on a test object. Look for any mistakes in the calibration.
l Indenter: Examine the indenter for any signs of contamination, wear, or damage. If necessary, clean or replace it.
l Force application: By putting a weight on the stage and measuring the applied force, you can test the force application. Make sure it is set to the desired value.
l Stage movement: Verify that the stage is moving smoothly and under control. Adjust the stage if required.
4. Analyze the test results:
l Review the indent measurements: Do they fall within the permissible bounds for your content? If not, think about things like measuring technique, force application, and sample preparation.
l Compare with reference values: Examine the measured and expected hardness values for your material, if you have reference data available.
l Repeat the tests: To verify the outcomes and rule out random errors, run multiple tests.
5. Seek further help:
l Consult the user manual: See the troubleshooting section in the handbook of your device for detailed instructions based on the error code or symptoms.
l Contact the manufacturer: Please contact the technical support team of the manufacturer if the issue continues.
Additional tips:
l Keep a logbook:To help track and identify recurring issues, keep a record of all maintenance activities, calibrations, and troubleshooting steps performed.
l Invest in training: Make sure your operators have received the necessary training to operate and maintain the Vickers hardness tester correctly.
l Follow safety precautions: Wear the proper safety equipment at all times when using the machine and working with potentially dangerous materials.
You can effectively troubleshoot your Vickers hardness tester and guarantee accurate and dependable measurements by methodically following these steps and asking for assistance when necessary. When using the machine, keep in mind that safety comes first and give priority to safe procedures.