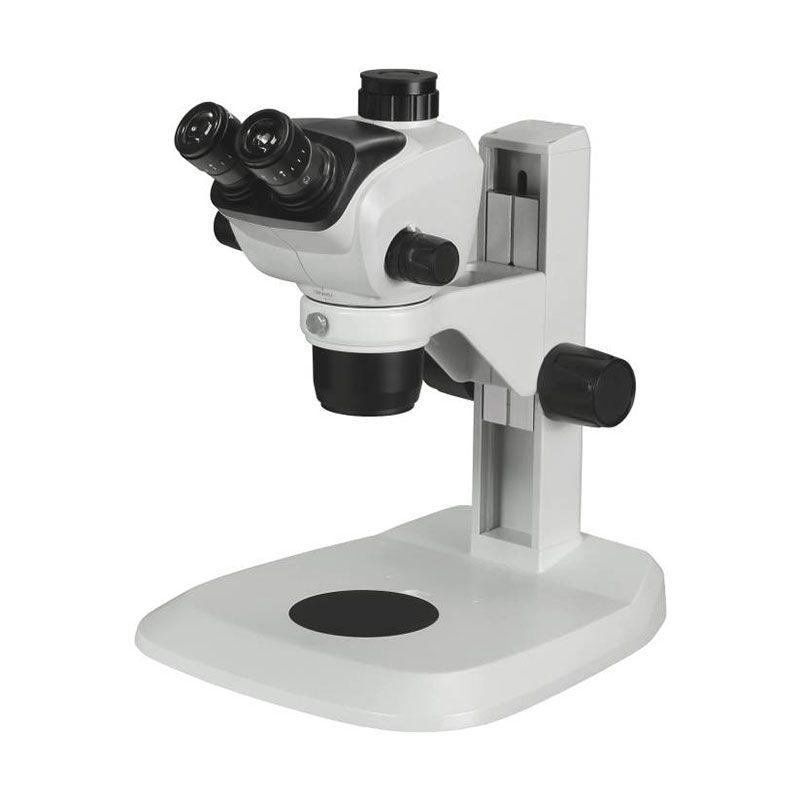
The ability to view objects in three dimensions makes stereo microscopes crucial. Conventional microscopes, on the other hand, can only create two-dimensional images. For many tasks, including inspecting manufactured parts, assembling electronic components, and dissecting specimens, the capacity to see objects in three dimensions is crucial. To use a stereo microscope, follow these steps:
l Step 1: Place the microscope on a flat, level surface. A well-lit area is ideal for the microscope, but direct sunlight should be avoided.
l Step 2: Plug in the microscope and turn it on.
l Step 3: Adjust the interpupillary distance (IPD). The separation between the two eyepieces is this. Shut one eye and use the other eyepiece to adjust the IPD. Once you see a single, circular image, adjust the IPD. Proceed with the other eye in the same manner.
l Step 4: Place the specimen on the stage.
l Step 5: Adjust the magnification. The magnification range of the majority of stereo microscopes is 10x to 40x. As needed, increase the magnification from the lowest starting point.
l Step 6: Focus the microscope. To focus the microscope on the specimen, turn the coarse and fine focus knobs.
l Step 7: Adjust the illumination. A light source is typically integrated into stereo microscopes. Light intensity should be adjusted until the specimen is well-lit.
Since a stereo microscope is a multipurpose instrument that can be used to examine a broad variety of objects and processes, we must be able to operate one. Studying objects like insects, plants, and cells that are too small to be seen with the human eye is made easier with the help of stereo microscopes. They can also be used to investigate processes like blood flow through veins or crystal growth that are too small or fast to be observed with the human eye.