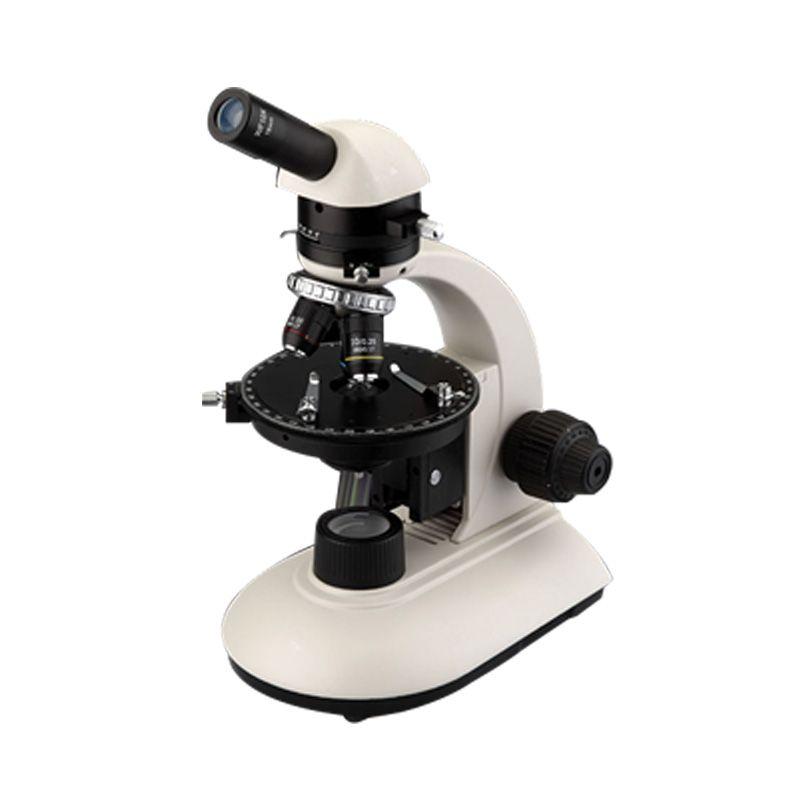
The quality of the sample affects the quality of the images captured by a polarizing microscope. A sample that has been improperly prepared may yield fuzzy and unclear photos, whereas a well-prepared sample would yield crisp and sharp images. An ill-prepared sample has the potential to harm the objective lens or other parts of the microscope. To prepare samples for polarizing microscope, the following steps are generally followed:
1. Grind or cut the sample into a thin layer. The kind of material being examined and the required magnification will determine the section's thickness. For instance, the normal thickness of thin sections of rocks and minerals is approximately 30 micrometers, but the typical thickness of thin sections of biological specimens is approximately 10 micrometers.
2. Put the sample on a slide made of glass. There are several ways to mount the sample, including utilizing a coverslip or a mounting media.
3. Make the sample shine. While not required for every sample, this procedure is crucial for samples that are being examined under high magnification. Polishing aids in removing any blemishes or scratches from the sample's surface.
4. Make the sample clean. To get rid of any dirt or debris, the sample needs to be cleaned. There are several ways to accomplish this, including using distilled water or a mild soap solution.
5. Give the sample a coverslip. While not required for every sample, this procedure can be beneficial when examining materials under high magnification. The coverslip enhances image quality and safeguards the sample.
For scientists and researchers who use polarizing microscopes, knowing how to prepare samples for a polarizing microscope is crucial. It enables them to acquire precise results, prevent damage to the microscope, and provide high-quality images.

